I have tried three recipes for crispy pork belly and found the one to keep based on the ease in preparation and flavor. I didn’t have to use an overabundance of salt that would over-salt the meat when not removed fully.
Below are some links to more details, including photos:
My Story
Earlier in the year, I saved a recipe from a website that I referenced while making crispy pork. This month, pork belly went on sale at a local supermarket for 33% less than usual, so I had to take advantage of this deal, since I’ve never seen this happen before!
Inspiring Recipe
The main dish, Slow-Roasted Crispy Pork Belly, is a recipe from a food blog, RecipeTin Eats. For the condiment, I chose the Honey Garlic Sauce from a different recipe on the same website.
First Try
I couldn’t wait to see how the pork would be straight from the oven with just a few ingredients in it.
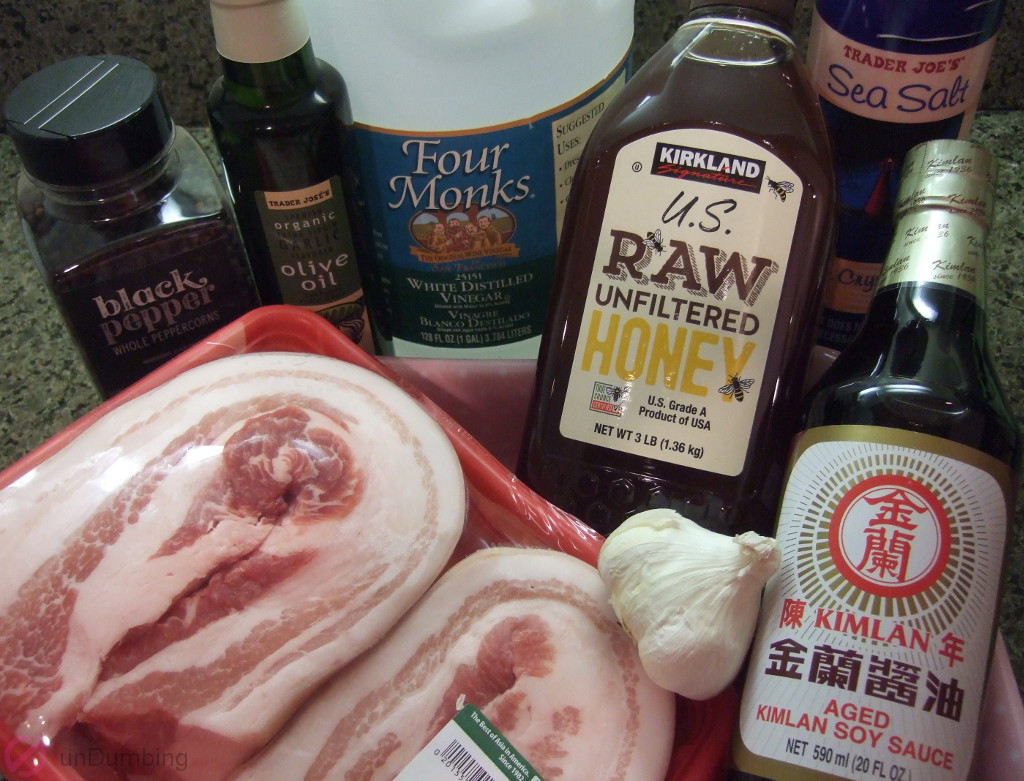
Ingredients to Use
With 2.99 pounds of pork belly, I adjusted the other ingredients in the recipe and used the following:
For the flesh
- 1/2 tablespoon of olive oil
- 2/3 teaspoon of sea salt*
- 1/3 teaspoon of black pepper
For the skin
- 3/4 teaspoon of olive oil
- 2/3 teaspoon of sea salt*
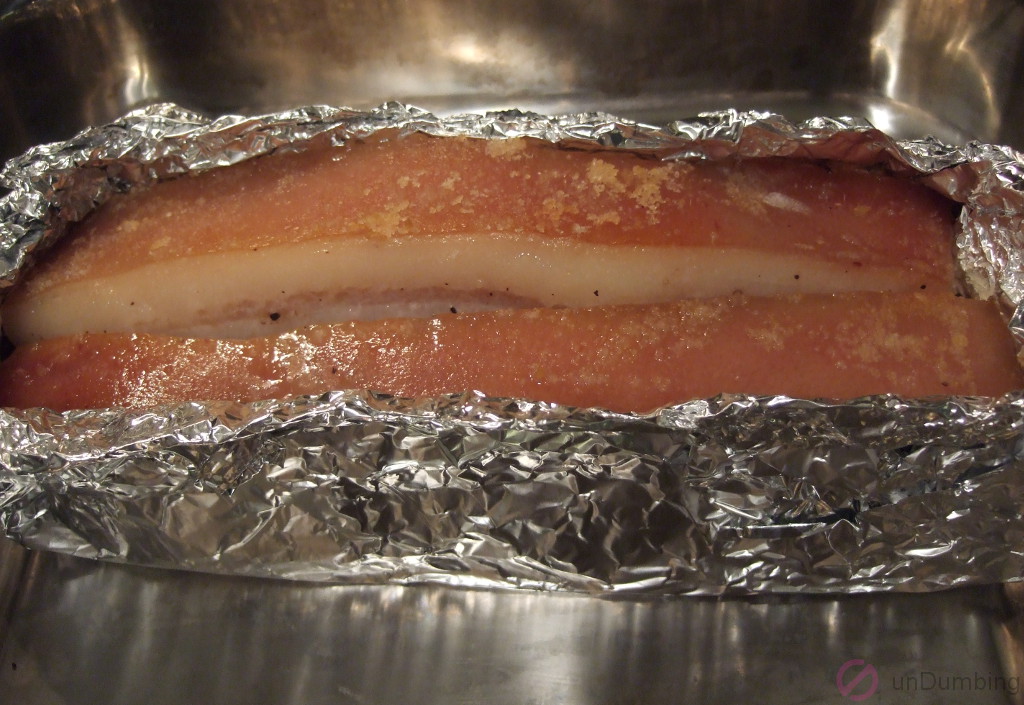
For the pork belly, it was a little thicker than 1.2 – 1.6 inches for one piece, at about 2 inches, because I bought the package before checking the recipe.
Also, since I didn’t have any fennel powder or seeds, I decided to omit this ingredient.
As for the salt, according to the chart in How To Convert Salt Measurements, an article on The Spruce Eats website, table and sea salt are equivalent at the lower measurements, so I just used the amount of table salt in the recipe for my conversion.
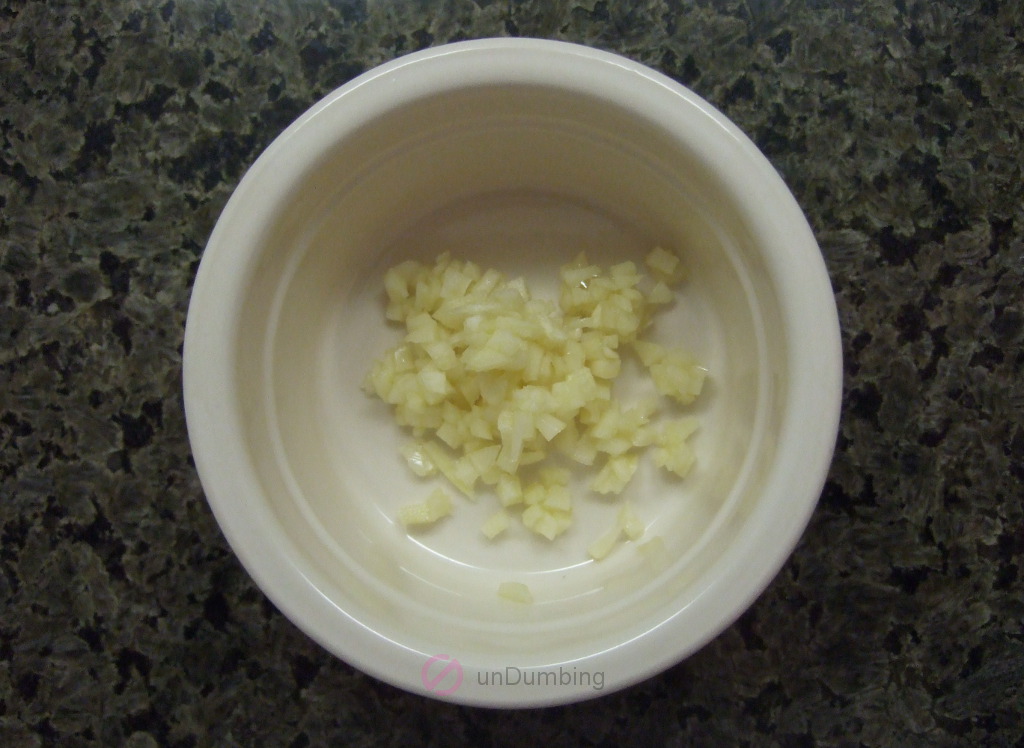
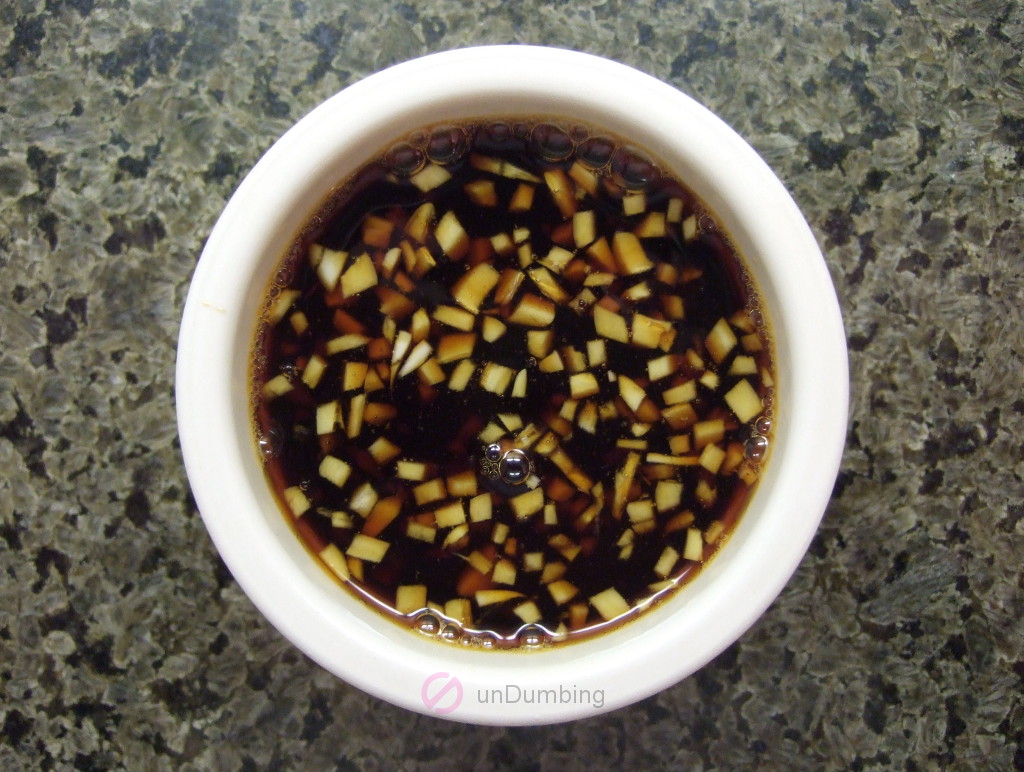
Lastly, since the default recipe for the Honey Garlic Sauce was for 6 servings, it was the perfect amount for what I had for pork. For the garlic portion, I chose to use three cloves, instead of two, for more flavor.
Steps to Prepare
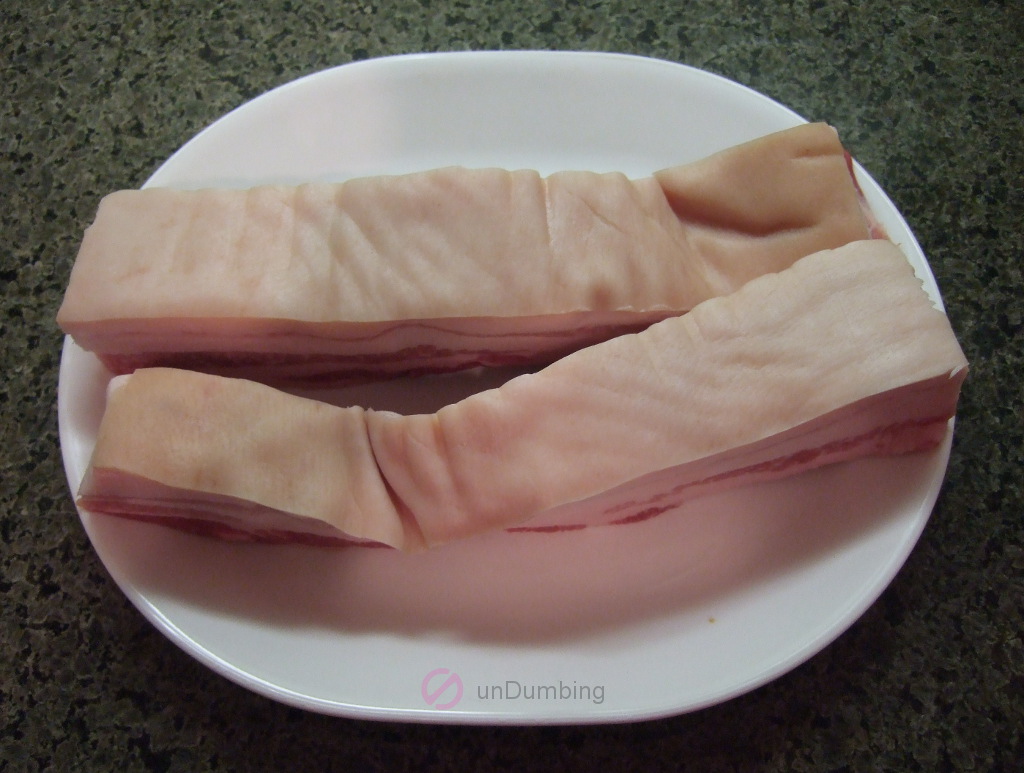
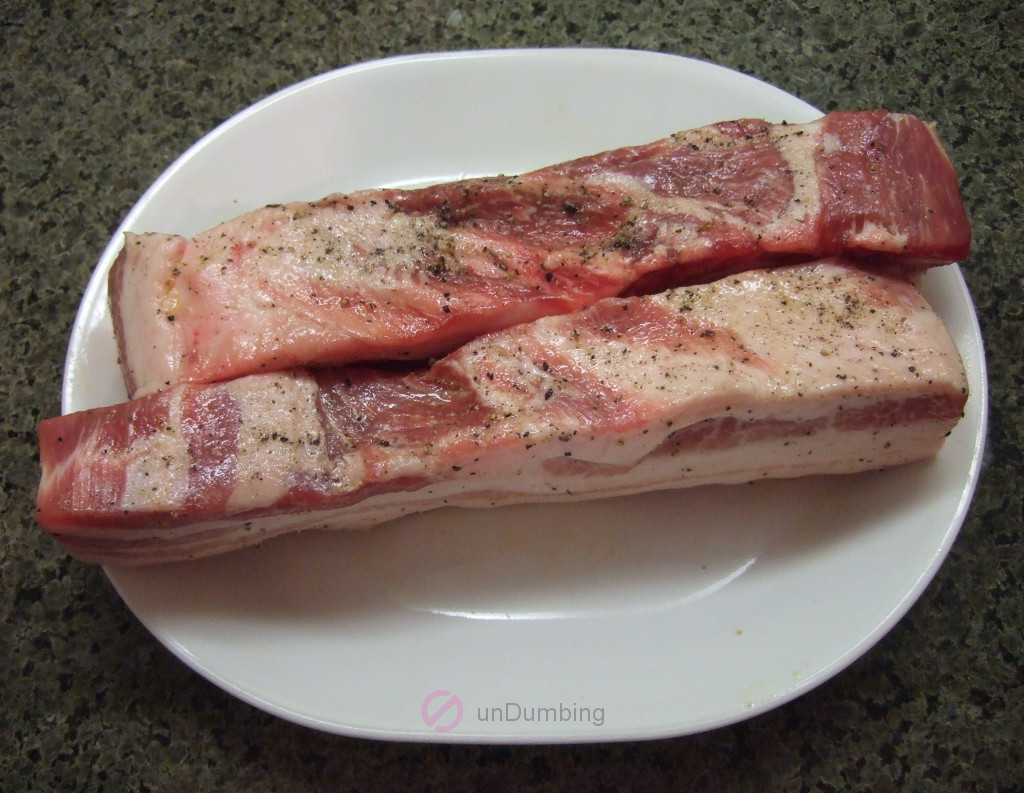
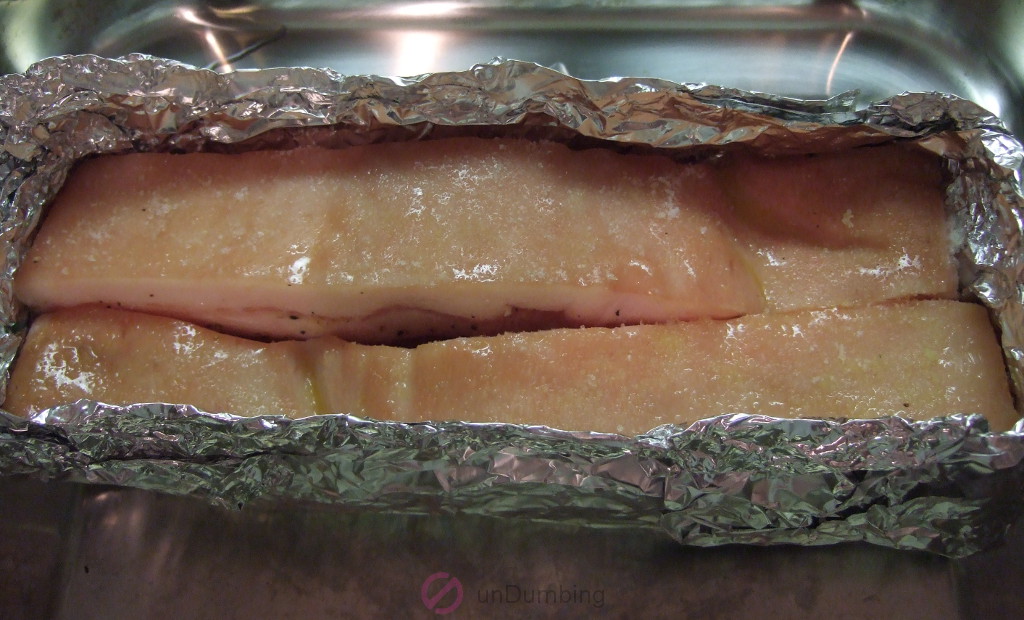
Of the 11 steps in the instructions for the pork belly, there were several where I changed slightly or skipped.
For Step 5, before seasoning the skin, I didn’t pat it dry because oil from the previous step had already slid to the skin, so after adding more oil and the salt, I just rubbed the skin to even everything out.
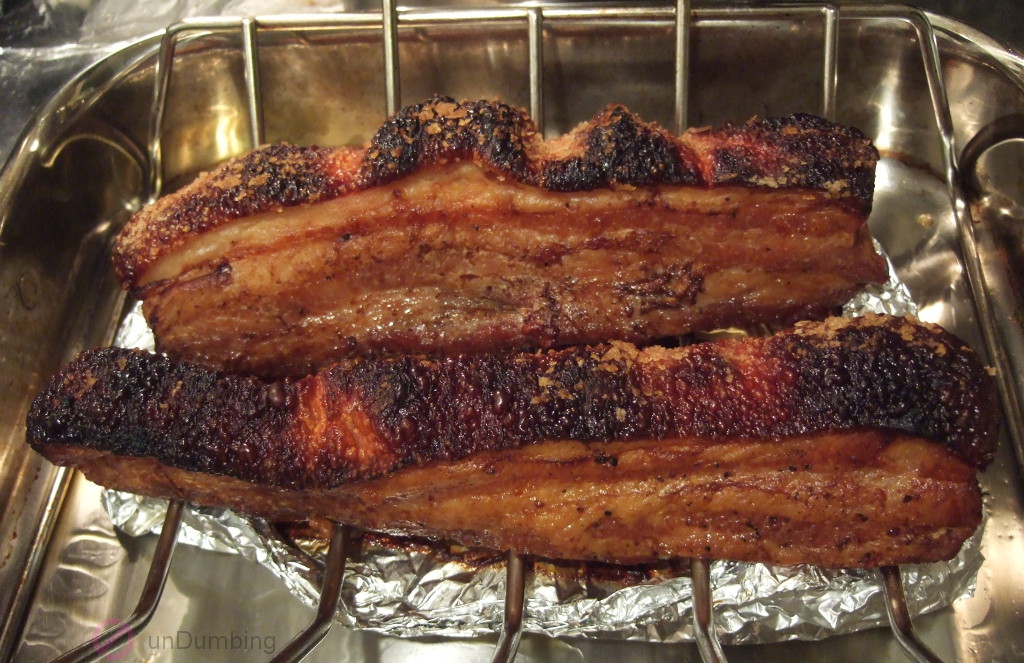
In Steps 8 and 9, I took a risk by not using foil balls to level and patches to protect the strips of pork, respectively, and the smoke alarm went off soon after I took the tray out of the oven.
As for Step 11, I used a cleaver, so it would be easier to chop through the skin.
Now when I was making the sauce, I went straight to the recipe with the details and missed the note in the directions of the original post about reducing and thickening the sauce.
Time to Eat
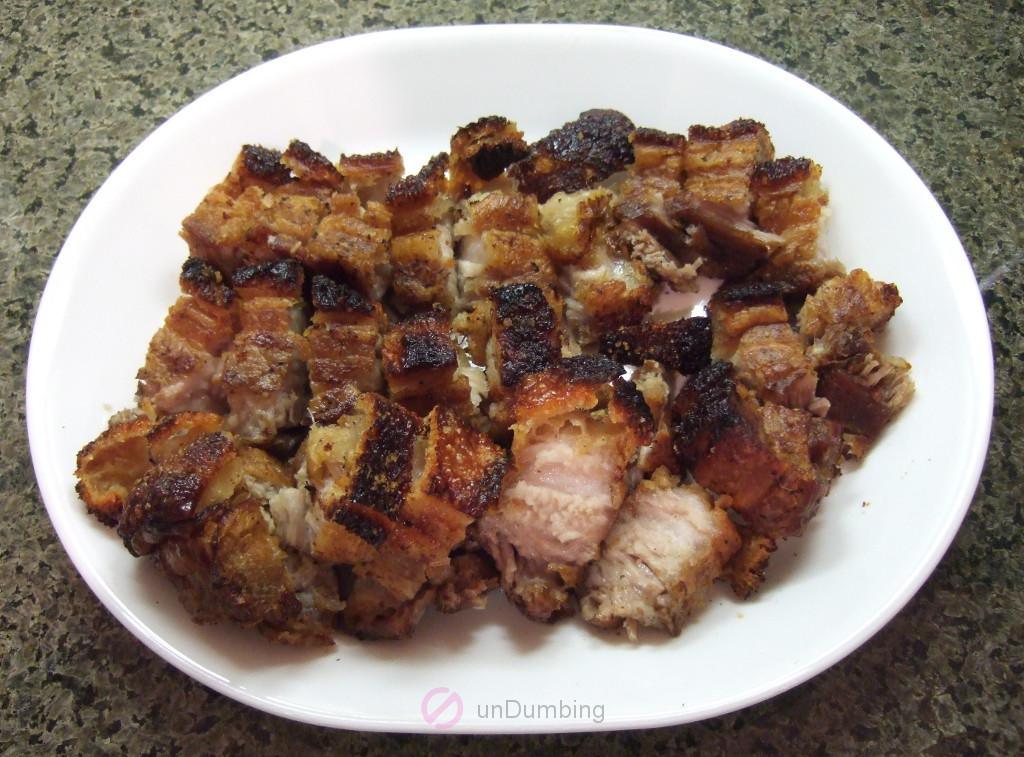
With some parts of the skin burned, I was afraid that the pork would end up tasting bitter.
Recipe Rating
Below were the results of the recipe after the first try:
| # of Ingredients | Effort | $ / Serving | Try Again? |
|---|---|---|---|
| 8 |

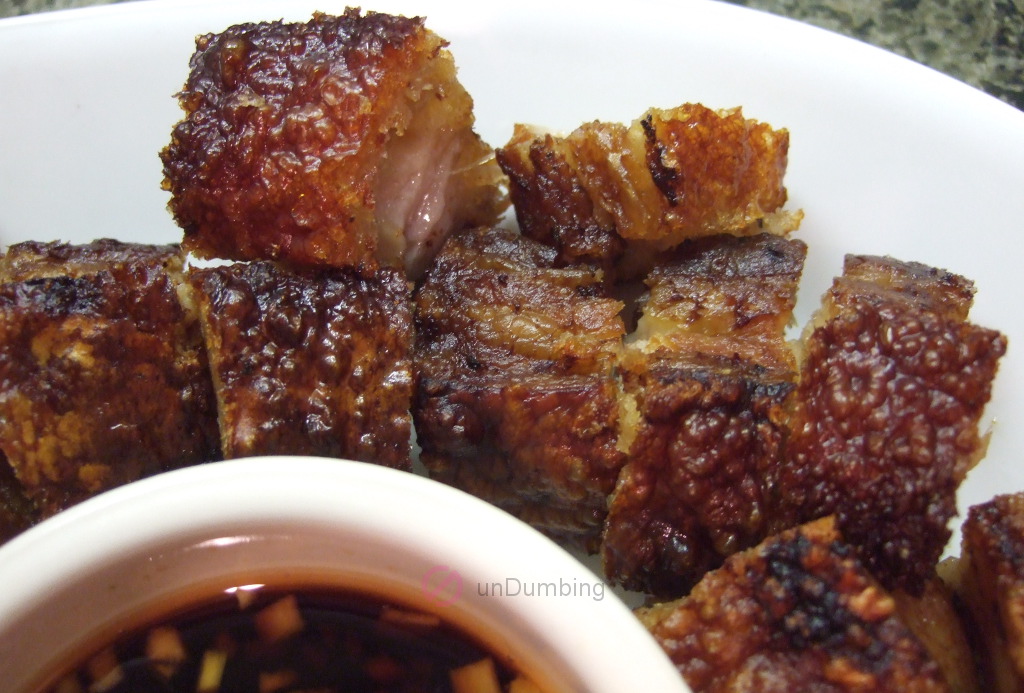
Surprisingly, the skin didn’t taste burned. Instead, it came out light and crunchy. The meat was moist and nicely salted. Lastly, the sauce was okay, with a little sweetness and saltiness.
Though this dish was heavy for me, the following was what I heard:
This is good! This is good.
– My Family
Second Try
During the second attempt, my main focus was to keep the pork skin from burning.
Ingredients to Use
For this batch, I started with 2.42 pounds of pork belly and adjusted the remaining ingredients for the pork accordingly, except for the salt that I miscalculated and used only half of what was proportionate. Below are the amounts that I ended up with to season the pork:
For the flesh
- 1 1/4 teaspoons of olive oil
- 1/4 teaspoon of sea salt
- 1/3 teaspoon of black pepper
For the skin
- 2/3 teaspoon of olive oil
- 1/4 teaspoon of sea salt
To keep things simple, I made the same amount of sauce as I did during the first attempt.
Steps to Prepare
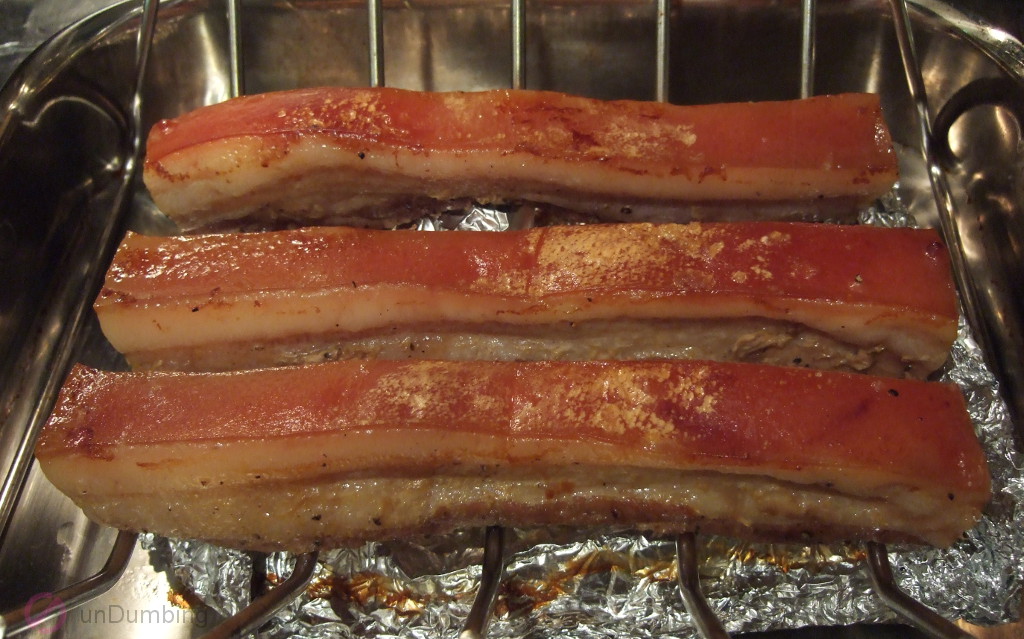
For the process this time, I followed Steps 5, 8, and 9 more closely to the recipe.
For Step 5, I was able to pat dry the skin before seasoning it.
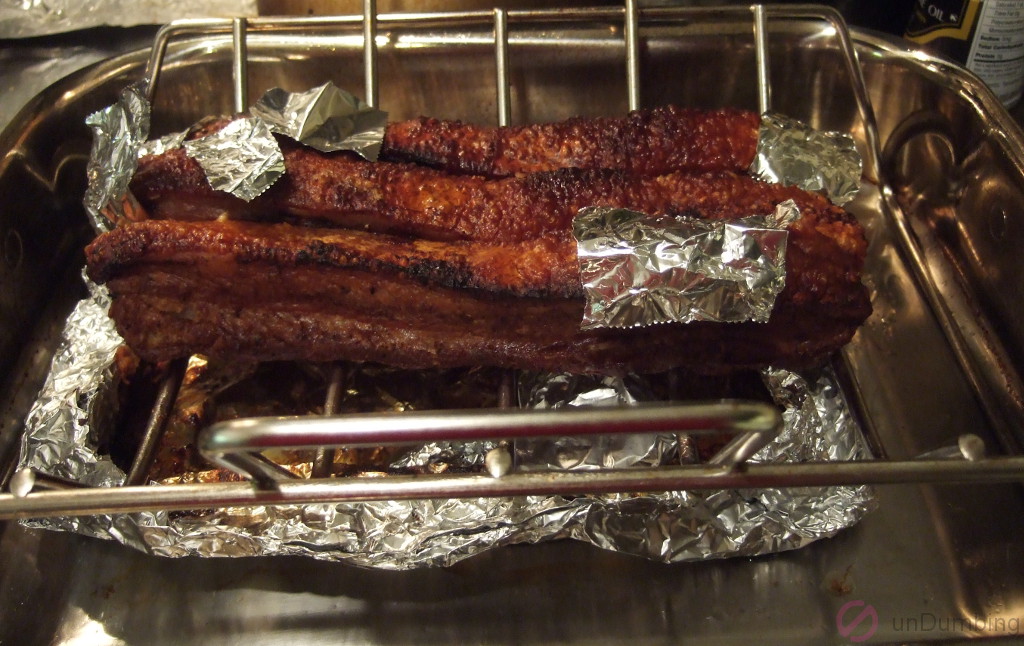
In Step 8, I used one foil ball to try and level one strip of pork belly.
As for Step 9, I placed several pieces of foil to cover the deeper brown spots.
Time to Eat
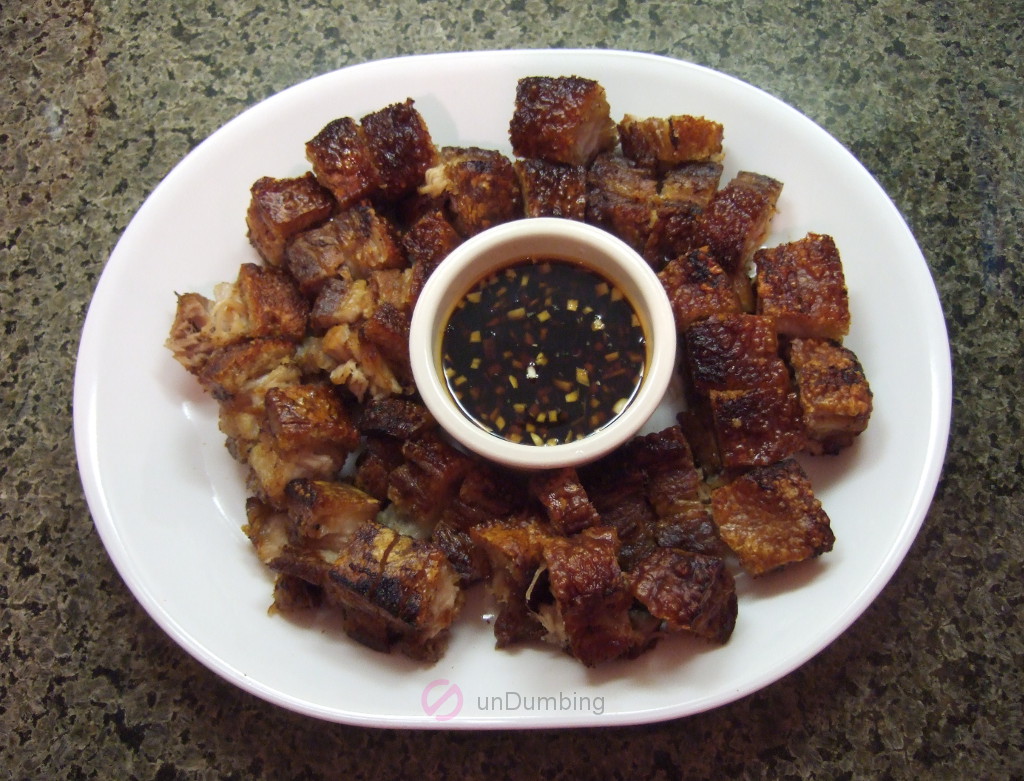
After the pork belly was done, I was happy to see that the color was more even in this batch.
Recipe Rating
Below are the results of the recipe from the second attempt:
| # of Ingredients | Effort | $ / Serving | Try Again? |
|---|---|---|---|
| 8 |

The highlight of the pork belly was the nice, light crunchy skin that wasn’t smoking, burning, or causing the smoke alarm to go off!
This recipe was definitely a hit for my family, but I can still enhance it by doing the following next time:
Continuous Improvement
- Buy some fennel powder or seeds to season the pork belly with, as suggested in the recipe.
By trying the third crispy pork recipe, I learned the following:
Lesson for Dumber Self
- You know a recipe is a winner when you have someone asking for more of the dish after the first try!
What will you do now?
Next Step for You
- Try the Slow-Roasted Crispy Pork Belly recipe paired with the Honey Garlic Sauce recipe from the food blog, RecipeTin Eats?
- Share your favorite condiment for a roast pork belly dish?
- Read another post on this site? (Go to the menu at the top of the page.)

Leave a Reply