Preparing the long strands of Chinese chives (aka garlic chives) required the most time of all the parts in making a unique recipe for egg stir-fry. However, it was definitely worth it!
Below are some links to more details, including photos:
My Story
As I was browsing a blog that I had referenced to make braised oxtail noodles and oxtail soup, I saw an easy recipe for a dish that I ate when I was younger, Chinese chives and eggs, so I noted it. A month later, I was delighted to see that Chinese chives were on sale!
Inspiring Recipe
The recipe that I found this time was Chinese Chives & Eggs Stir Fry from The Woks of Life.
First Try
After buying the Chinese chives and confirming that I had the remaining ingredients for the recipe at home, I was ready to go.
Ingredients to Use
For the first attempt, I followed the default recipe for 2 servings with one substitution, replacing vegetable oil with avocado oil based on what I had available.
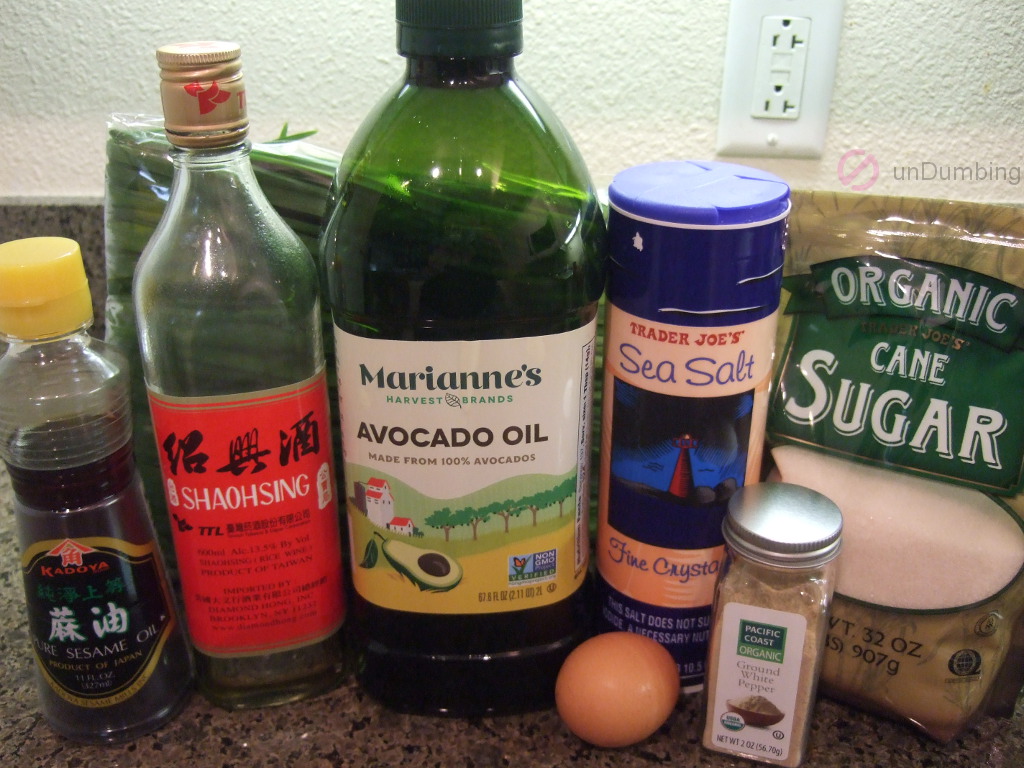
Steps to Prepare
For the three steps in the instructions of the recipe, I only had to tweak the last one. Instead of maintaining the heat at medium low, I increased it to medium since it was taking too long for the eggs to cook in the last step.
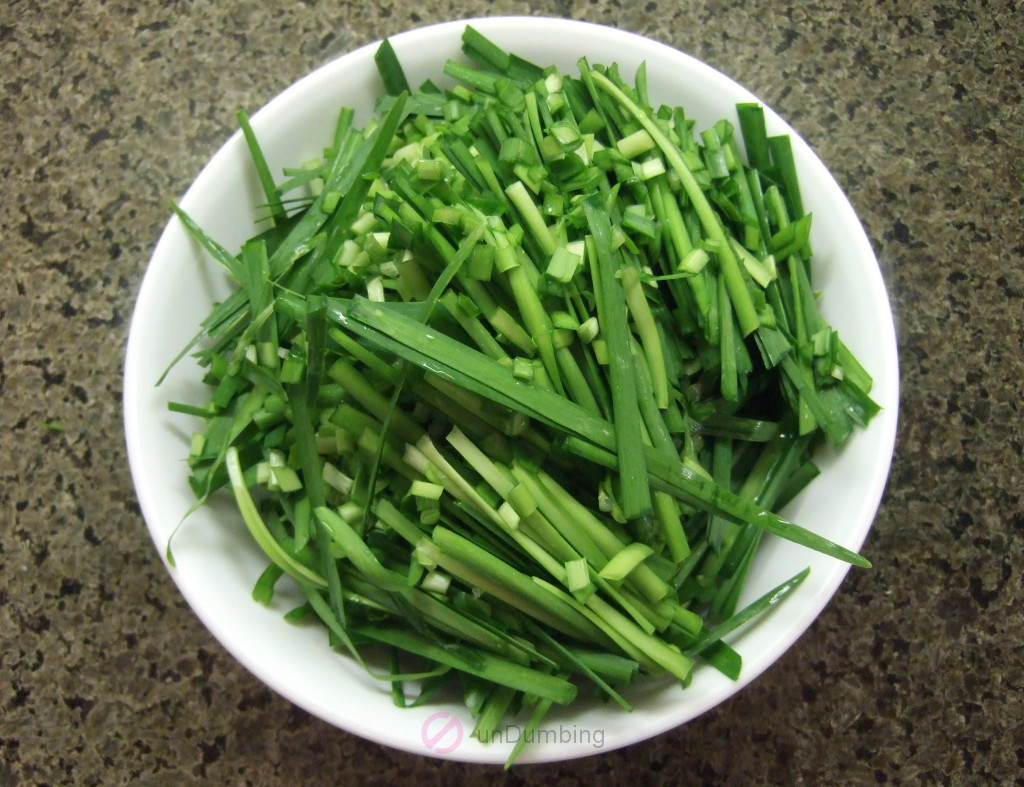
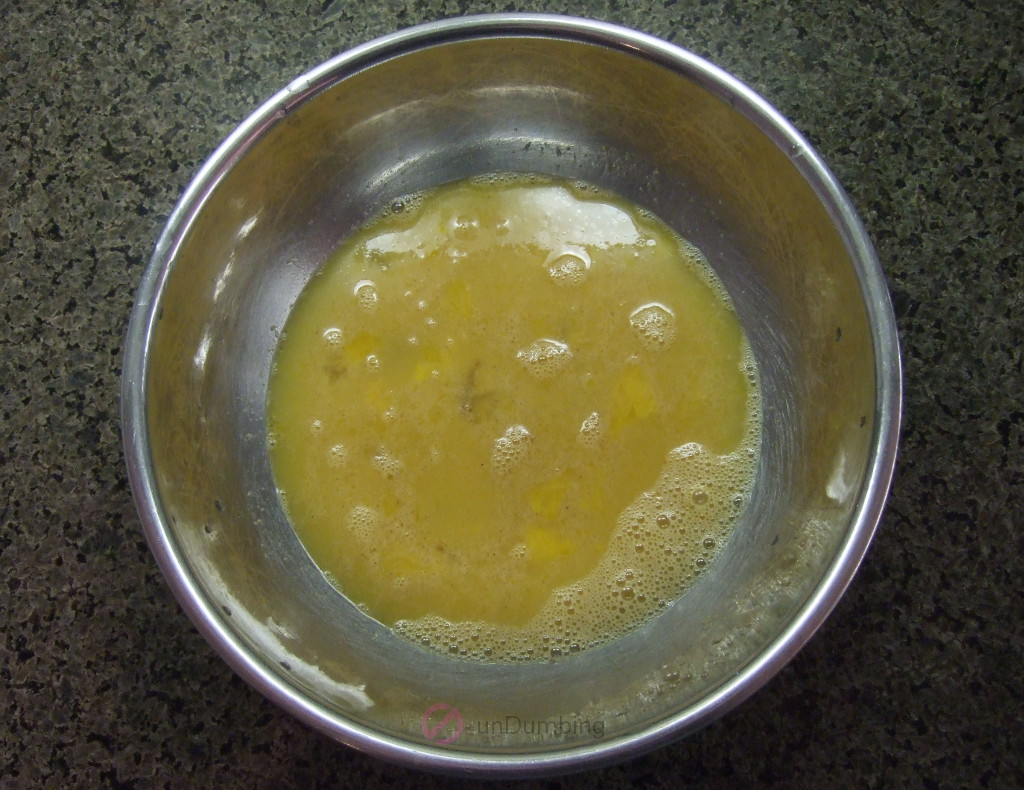
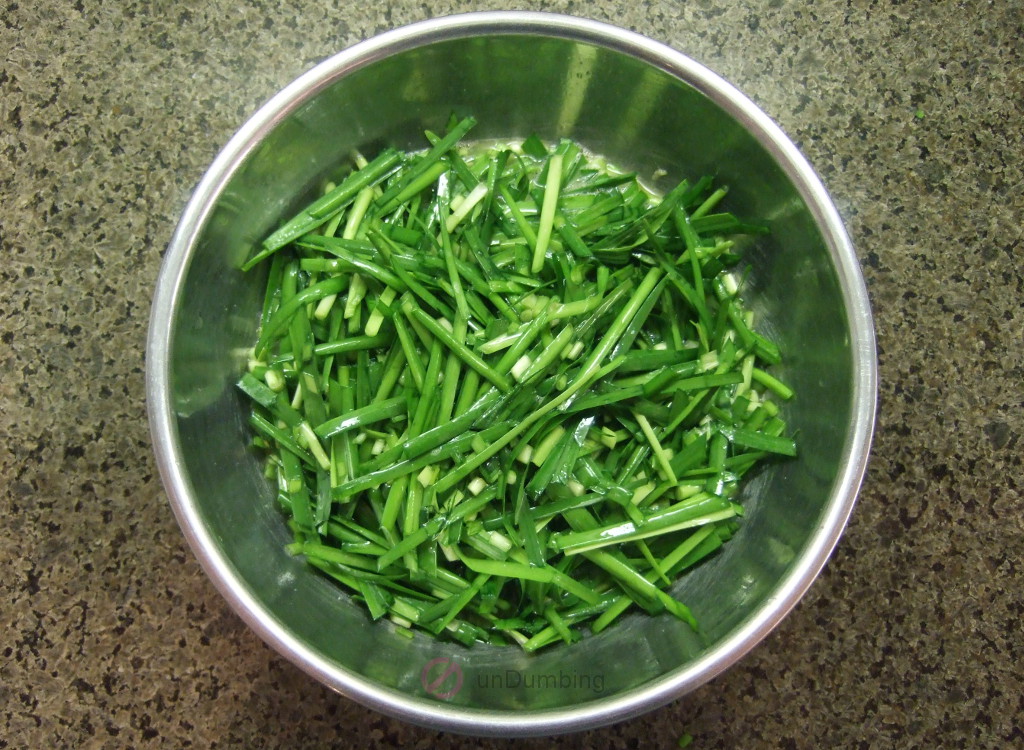
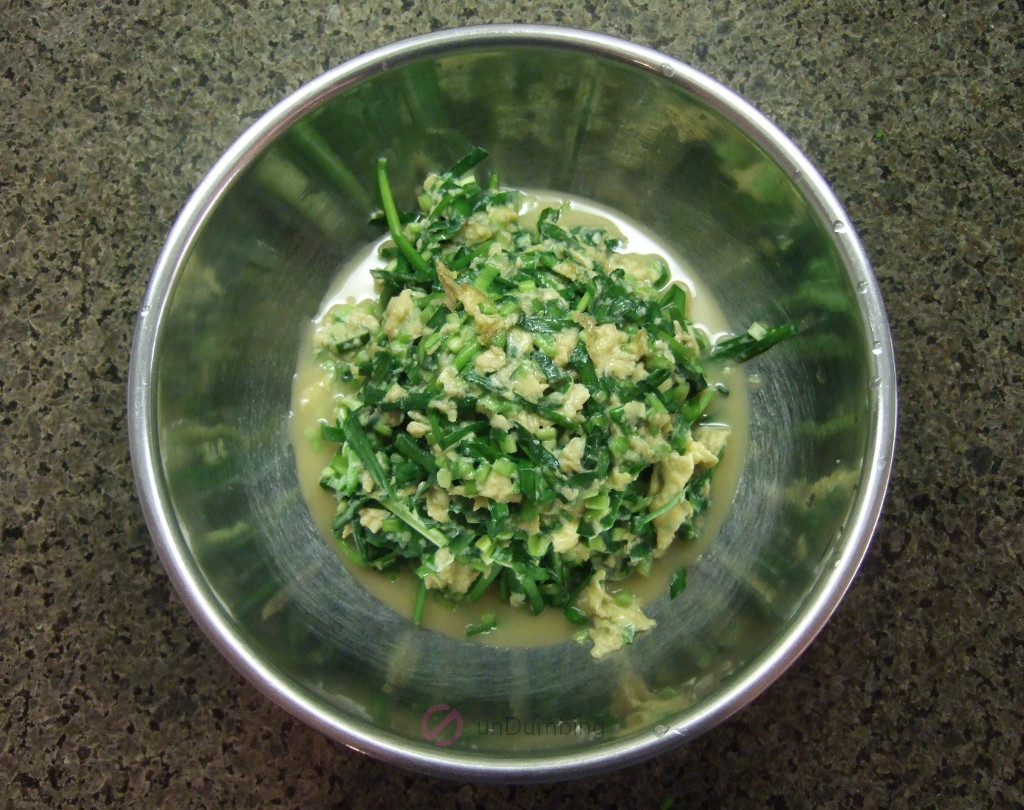
Time to Eat
Soon after the heat was increased on the stove, the dish was ready to eat.
Recipe Rating
Below were the results of the recipe after the first try:
| # of Ingredients | Effort | $ / Serving | Try Again? |
|---|---|---|---|
| 9 * |

Though some strands of chives were a little tough, most of the family members enjoyed the flavor of the eggs with the Chinese chives. My older son even mentioned that if I added shrimp, it would taste like the Cantonese dim sum chive dumplings.
Second Try
For the second try, I just wanted to make the process a little smoother and the chives less chewy.
Ingredients to Use
In regards to the ingredients, I used the same items as in the first round.
Steps to Prepare
As for the process, I forgot to lower the heat right after the wok started to smoke and also didn’t remember to wait 10 seconds before adding the oil. Instead, I just added the oil after the wok began to smoke on high heat. Afterwards, I lowered the heat to medium.
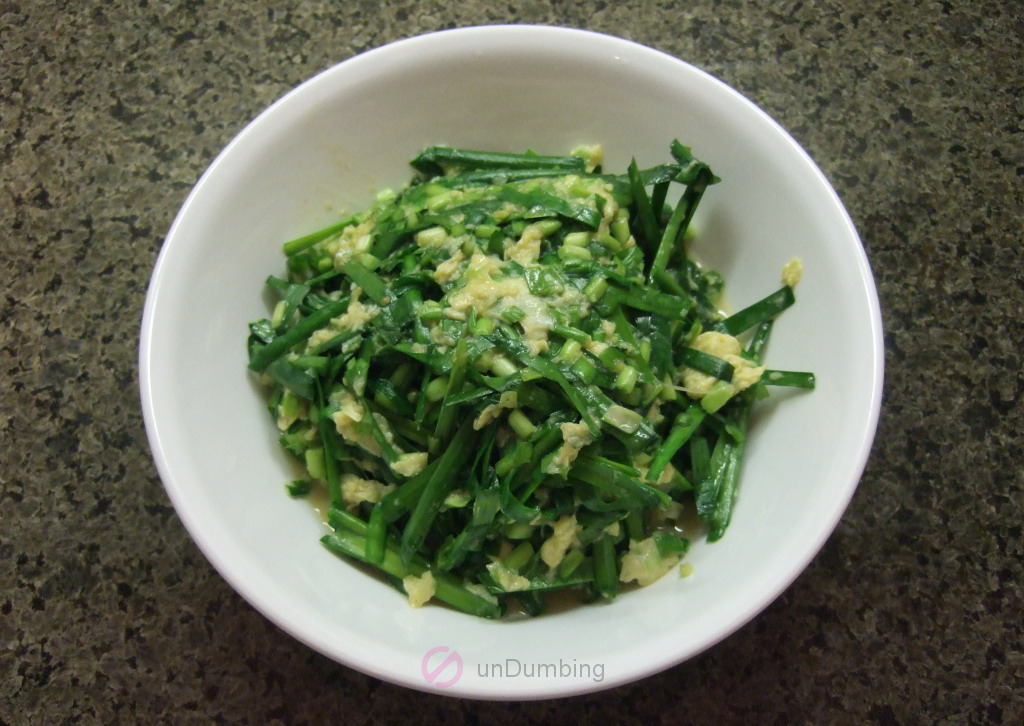
Time to Eat
This time, the dish cooked faster and I couldn’t wait to see if the texture of the chives had improved.
Recipe Rating
Below are the results of the recipe from the second attempt:
| # of Ingredients | Effort | $ / Serving | Try Again? |
|---|---|---|---|
| 9 * |

The chives were softer and the dish maintained it’s flavor, so the second round was a success!
Because washing, trimming, and chopping the chives required the most time in the process, I will try to shave some minutes off next time by changing the approach:
Continuous Improvement
- Instead of washing the chives in batches, followed by trimming and chopping, I will trim, wash, and chop, completing each step before moving onto the next.
Having gone through the process of preparing the long Chinese chives for cooking, I learned the following that I would like to share with my less experienced self:
Lesson for Dumber Self
- Take a few minutes to plan the process ahead of time.
What will you do now?
Next Step for You
- Try the Chinese Chives & Eggs Stir Fry recipe from the blog, The Woks of Life?
- Share a tip for preparing leafy vegetables?
- Read another post on this site? (Go to the menu at the top of the page.)

Leave a Reply