
When my family first saw the completed dish, they immediately noticed the Korean chili powder and pork slices typically used for bulgogi. However, this oven recipe is so much easier to make!
Below are some links to more details, including photos:
My Story
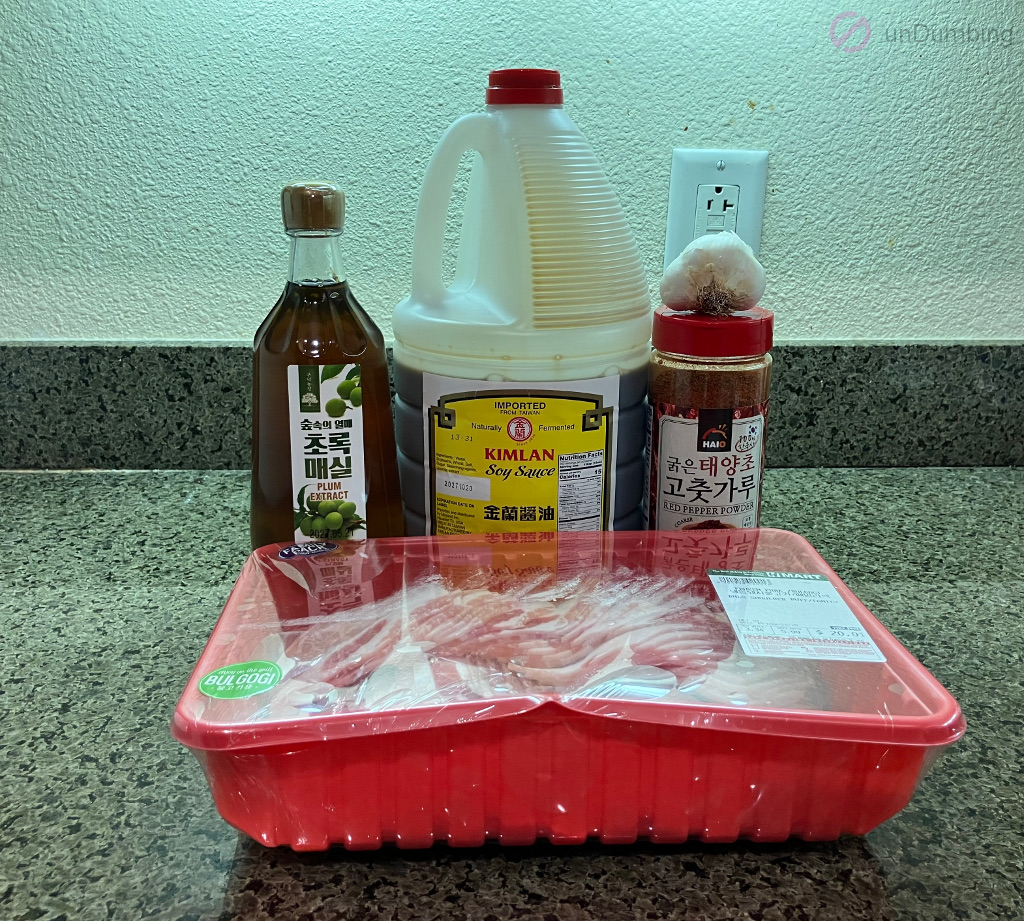
At my local supermarket, I snatched up a tray of frozen boneless pork shoulder butt pre-sliced for making bulgogi. After getting a great deal at $4.99 per pound, I had to find a recipe for it.
Inspiring Recipe
What I came up with was Oven Baked Korean Spicy Pork from a Korean food blog, Kimchimari.
First Try
Though the recipe needed only five ingredients, I had to make another trip to buy the Korean chili powder and Maesil syrup. For the soy sauce, I decided to use the Chinese one that I had at home.
Ingredients to Use
For 3.34 pounds of pork, I more than tripled the default recipe and used the following:
- 6 1/2 tablespoons + 3/4 teaspoon of soy sauce
- 6 1/2 tablespoons + 3/4 teaspoon of Korean chili powder
- 5 tablespoons* of chopped garlic
- 4 1/2 tablespoons of Maesil syrup
* The amount that I used for the garlic was 1/2 tablespoon more than needed. Since I chopped up more than anticipated, but didn’t want to waste anything, I just added everything to the recipe.
Steps to Prepare
Of the seven steps, I modified three of them as follows:
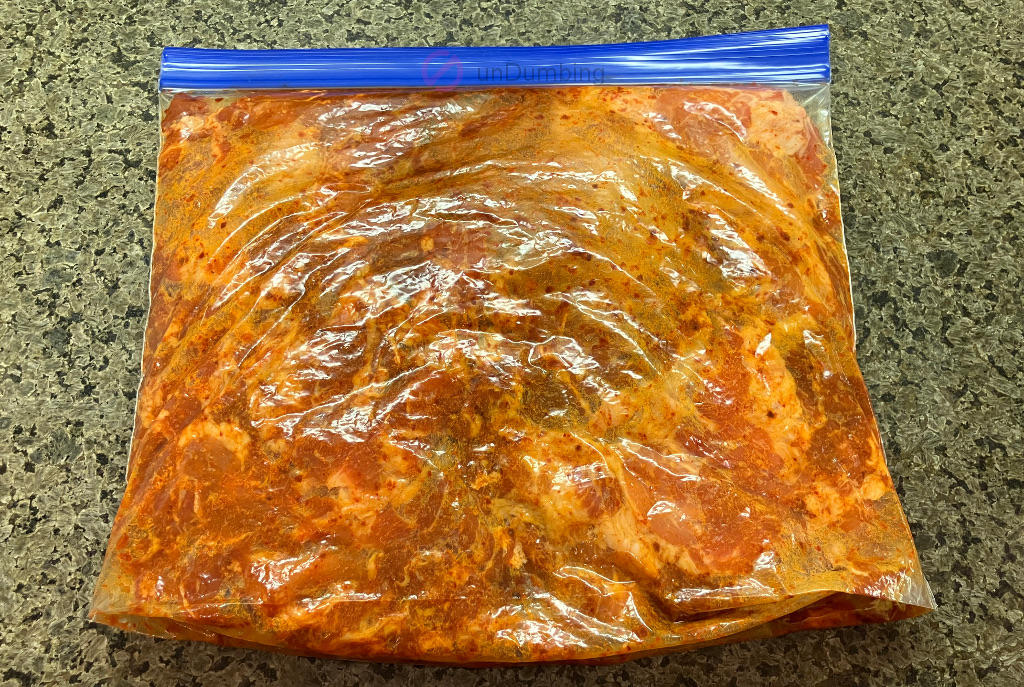
- Step 2 – I didn’t have to slice the pork since it was already done.
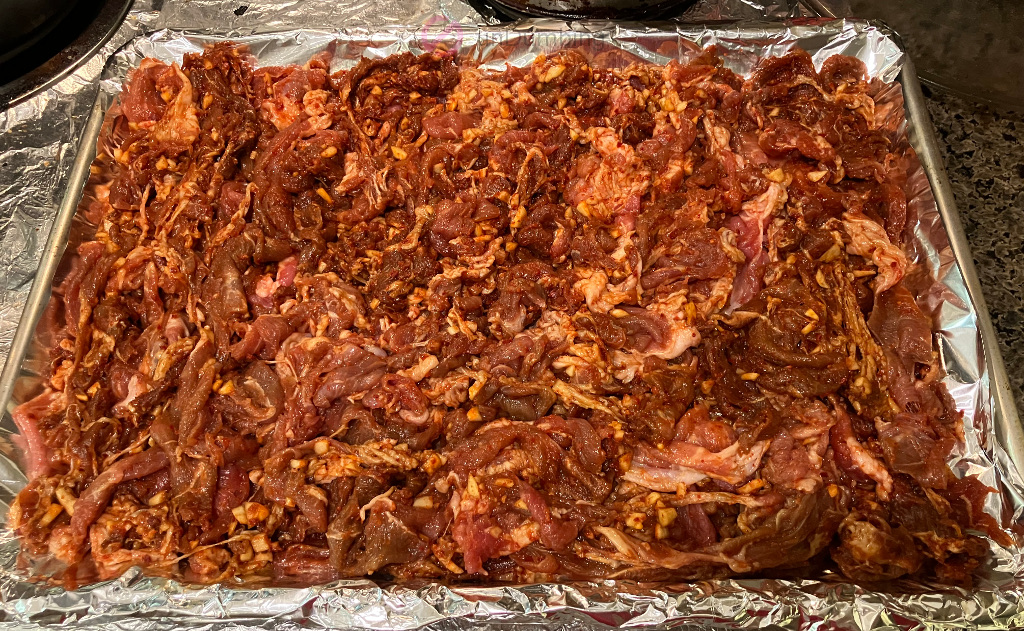
- Step 6 – Instead of parchment paper, I used foil because that’s what I had available. As for stacking the pork slices, I put them in multiple layers. Because the pieces were thin and I tried to make them level, I was hoping that baking one batch would be fine.
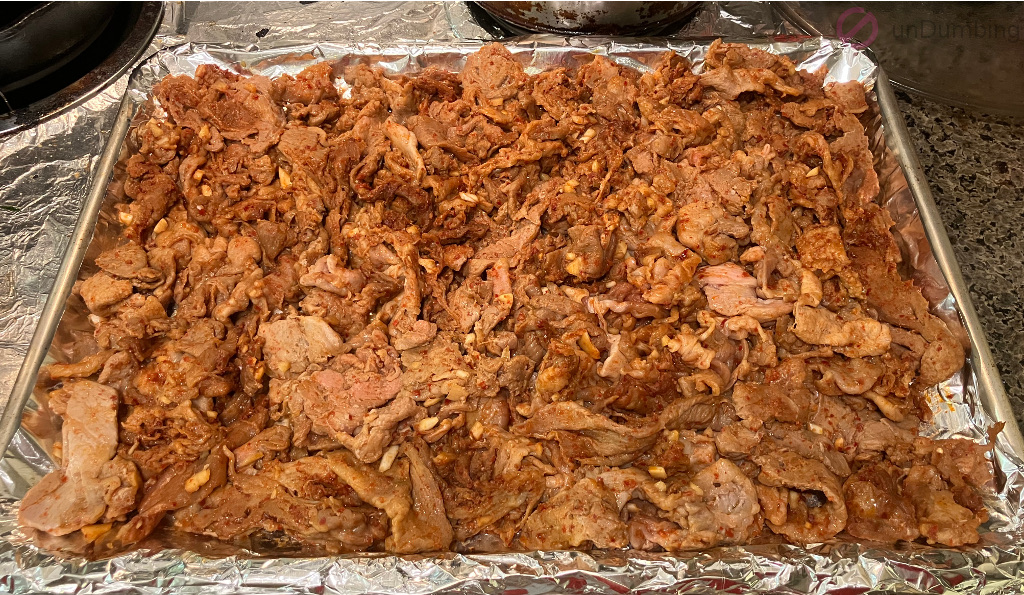
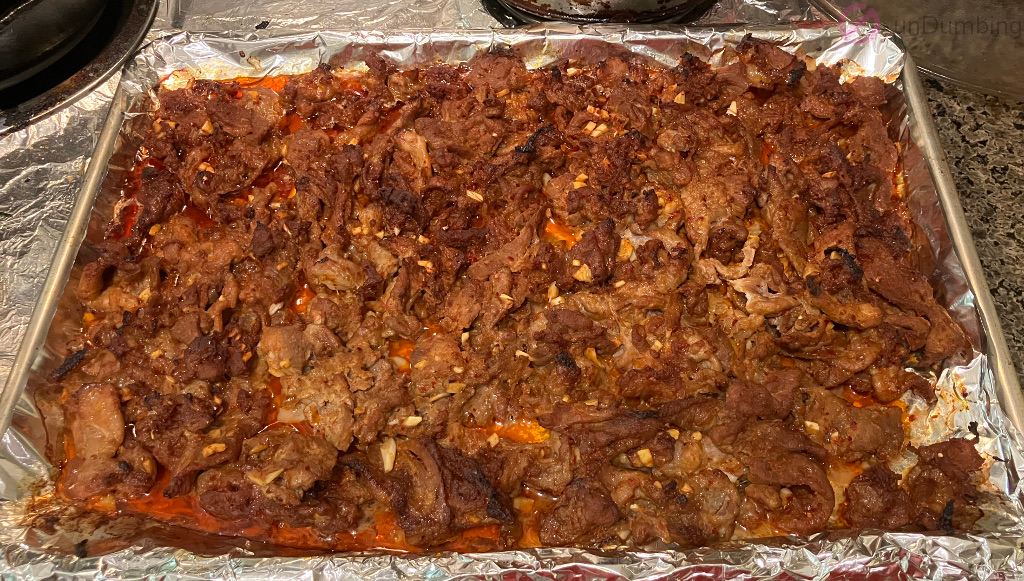
- Step 7 – Since the meat was in multiple layers, not only did I flip them, I also separated the pieces to help cook them more evenly. After cooking the tray at 400 degrees Fahrenheit, I ended up baking it for another 10 minutes before the edges started to brown.


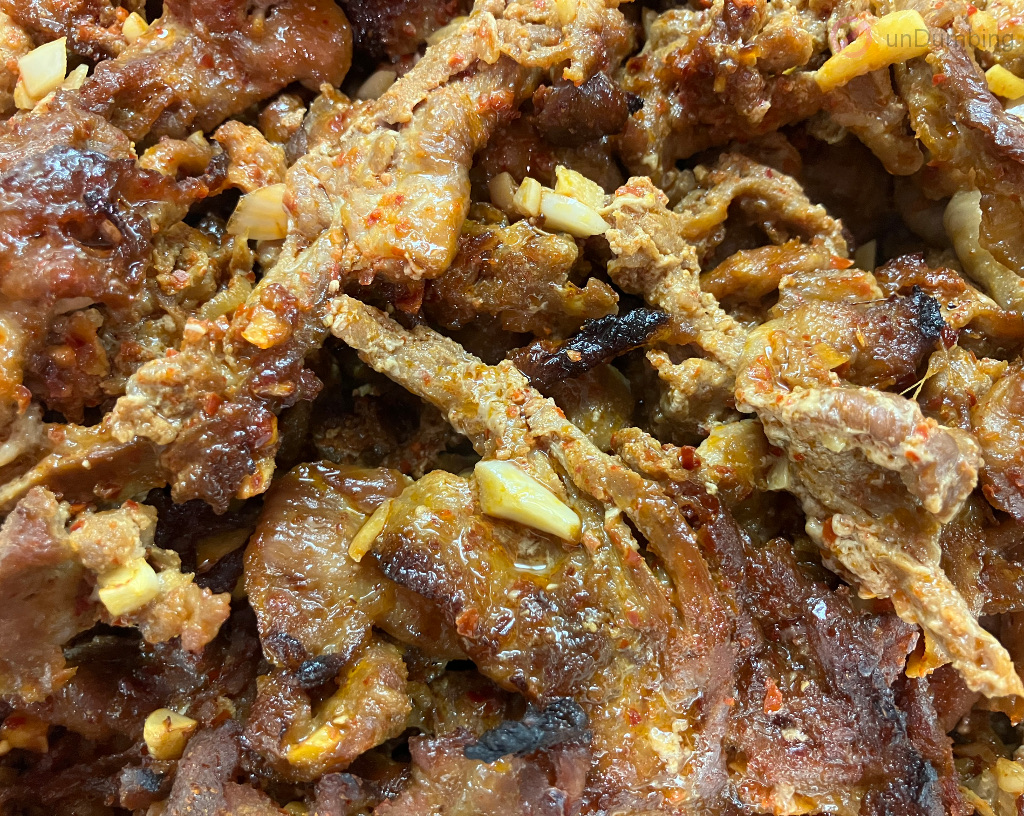
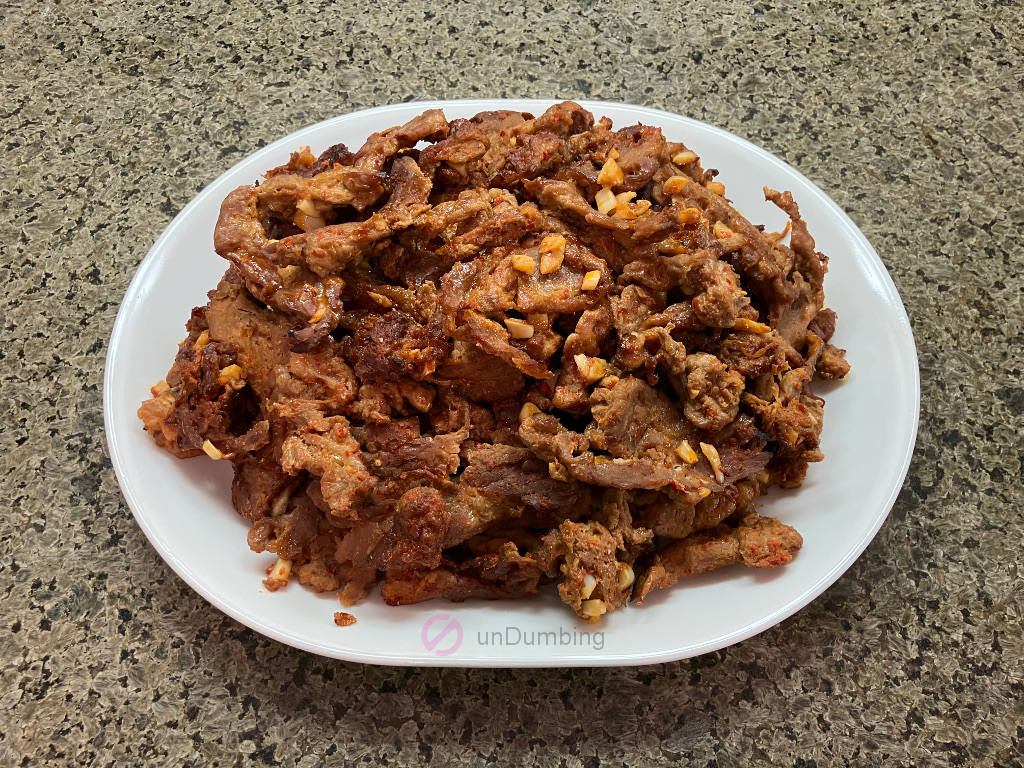
Time to Eat
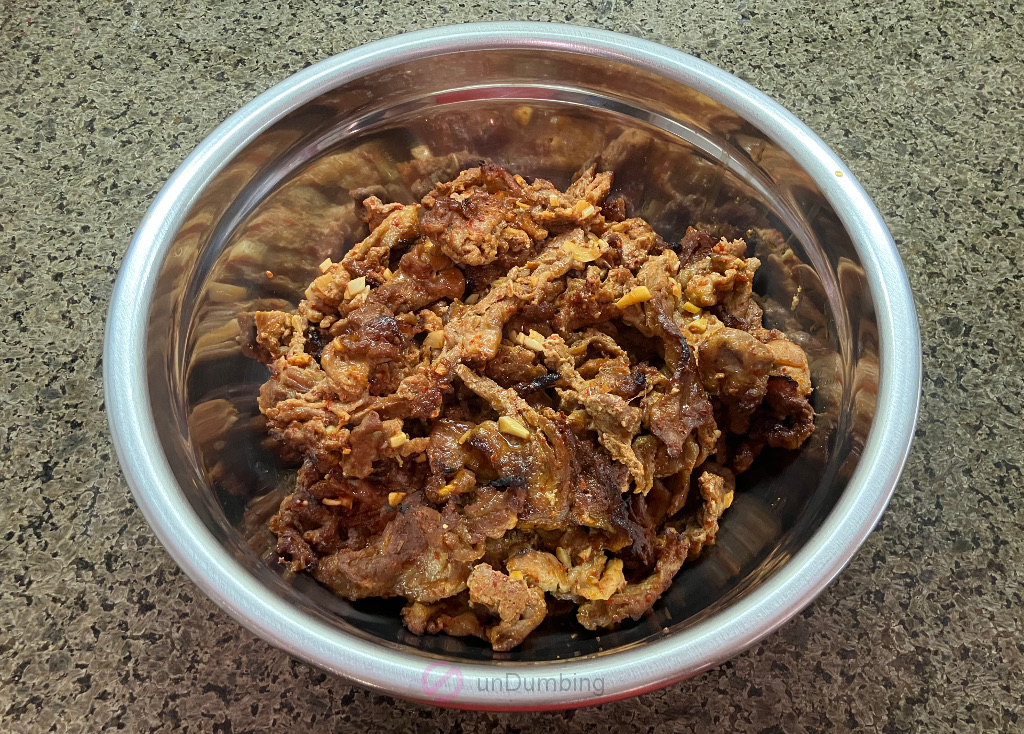
Here’s the plate of pork ready for tasting.
Recipe Rating
Below are the results of the recipe after the first try:
| # of Ingredients | Effort | $ / Serving | Try Again? |
|---|---|---|---|
| 5 |

I enjoyed the pork with the pepper and soy sauce flavor, even though there was only a hint of sweetness. However, I should’ve cooked the meat in two batches, so more of the fatty pieces of pork would be drier and almost crispy, as those pieces tasted better.
Nonetheless, if I wanted some of the Korean pork bulgogi flavors without having to spend the extra time grilling the meat, I would definitely make this dish again!
Second Try
For the second attempt, I wanted the pork to soak up less of the liquid.
Ingredients to Use
During the second round, I used the same ingredients as before, but pro-rated the default recipe based on 3.31 pounds of pork. What I ended up using for the remaining ingredients was as follows:
- 6 1/2 tablespoons + 1/2 teaspoon + 1/8 teaspoon of soy sauce
- 6 1/2 tablespoons + 1/2 teaspoon + 1/8 teaspoon of Korean chili powder
- 4 tablespoons + 1 1/3 teaspoons of chopped garlic
- 4 tablespoons + 1 1/3 teaspoons of Maesil syrup
Steps to Prepare
For the process, I kept it the same as the first time, except for the following:
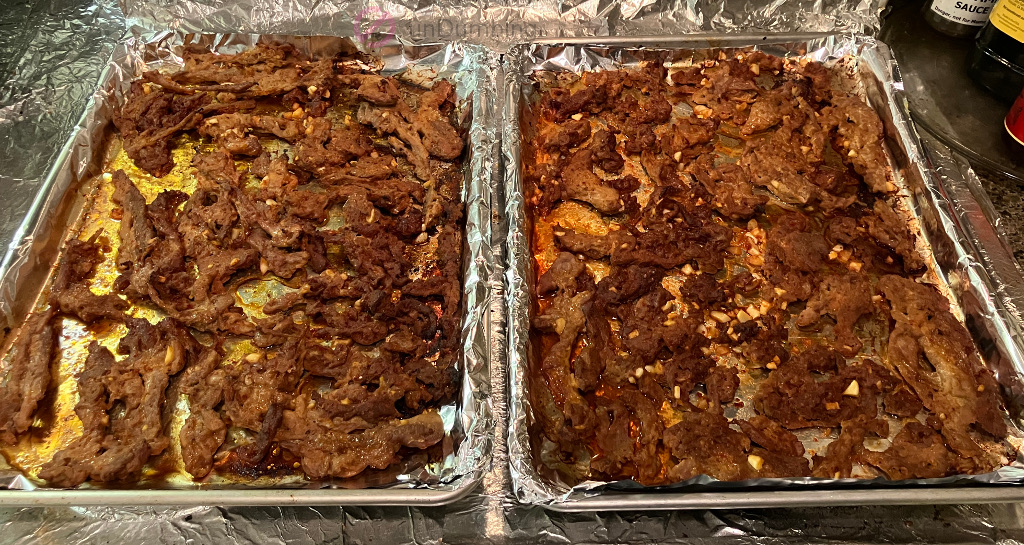
- Step 6 – This time, I divided the pork between two baking sheets.
- Step 7 – Because the meat wasn’t in multiple layers, I didn’t have to separate them. In addition, while flipping the pork slices, I preheated the oven at 400 degrees to save some time. Lastly, in hopes of cooking everything evenly, I swapped the baking sheet positions multiple times between the top and bottom racks at the higher temperature. In total, I baked the pork for 20 minutes at 400 degrees.
Time to Eat
This time around, the pork slices had more burnt edges.
Recipe Rating
Below are the results of the recipe from the second attempt:
| # of Ingredients | Effort | $ / Serving | Try Again? |
|---|---|---|---|
| 5 |
Even though the pork was drier, the flavors were uneven.
I will be making this dish again in the future, but will tweak the process as follows:
Continuous Improvement
- Cook everything on 1 tray, but stir the meat so the flavors spread evenly on each slice of pork.
After making this pork dish a couple of times, I learned the following that I would like to share with my previous self:
Lesson for Dumber Self
- Trying to solve one problem might introduce another one. For this recipe, I will have to go back to baking everything on 1 tray.
What will you do now?
Next Step for You
- Try the recipe, Oven Baked Korean Spicy Pork, from a Korean food blog, Kimchimari?
- Share your favorite recipe with Korean chili powder?
- Ask a question or leave a note in the Comment box below about this post?
Leave a Reply