I was looking forward to cooking chicken on a skillet that had a different flavor profile than what I had made last month. Previously, I was pleasantly surprised by the lightly crispy skin. Unfortunately, it wasn’t the case this time.
Below are some links to more details, including photos:
My Story
After making the Dongbei-style braised chicken thighs last time, my younger son had suggested serving chicken with crispy skin, which I interpreted as him wanting chicken with crispier skin. Since I had some chicken drumsticks to cook, I explored the internet for a recipe for this challenge.
Inspiring Recipe
After my search, I found Crispy Cast Iron Chicken from the blog, Health Starts in the Kitchen, to be promising.
First Try
For my first attempt, I was able to gather the same base ingredients from my kitchen that were listed on the recipe.
Ingredients to Use
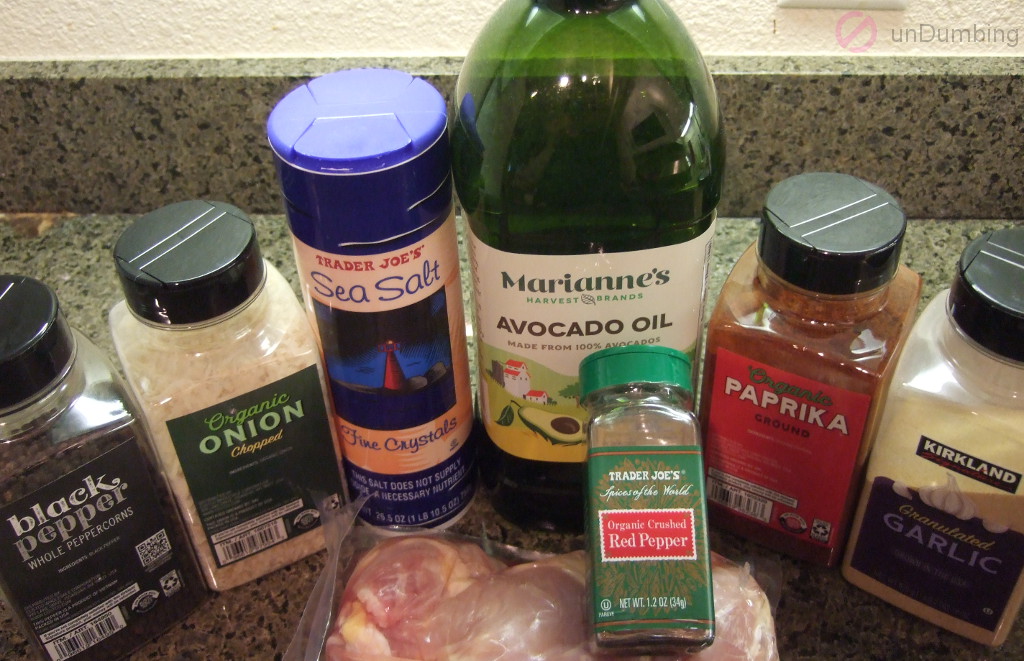
Since I started with 3.21 pounds of chicken drumsticks, I thought I’d begin with making 1/3 of the amount called for in the spicy version of the Homemade Seasoned Salt recipe. What I used from the cabinet was as follows:
- 1 tablespoon of organic granulated garlic (instead of garlic powder)
- 1 tablespoon of organic chopped onions (instead of onion powder)
- 1 tablespoon of regular sea salt (instead of Celtic sea salt)
- 2/3 teaspoon of organic paprika
- 2/3 teaspoon of finely ground non-organic black pepper (instead of the organic version)
- 1/3 teaspoon of organic crushed red pepper
Steps to Prepare
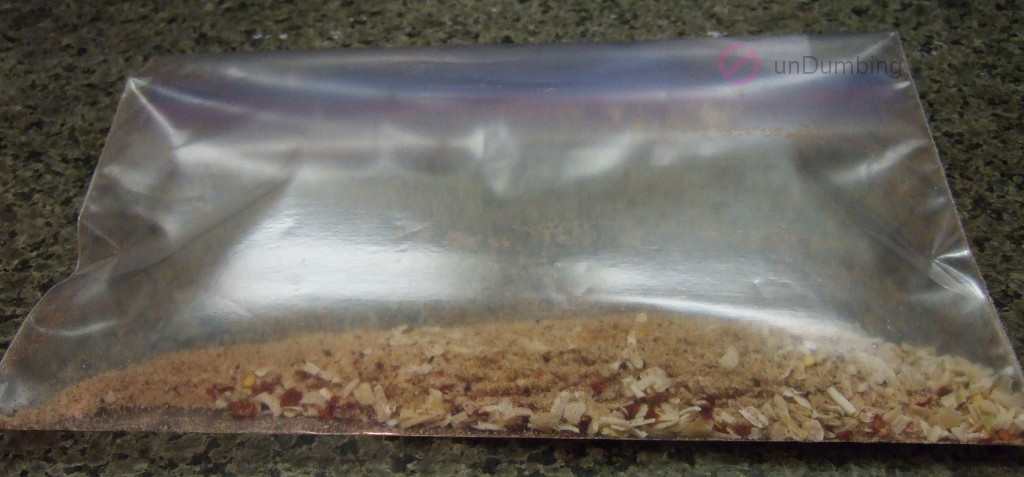
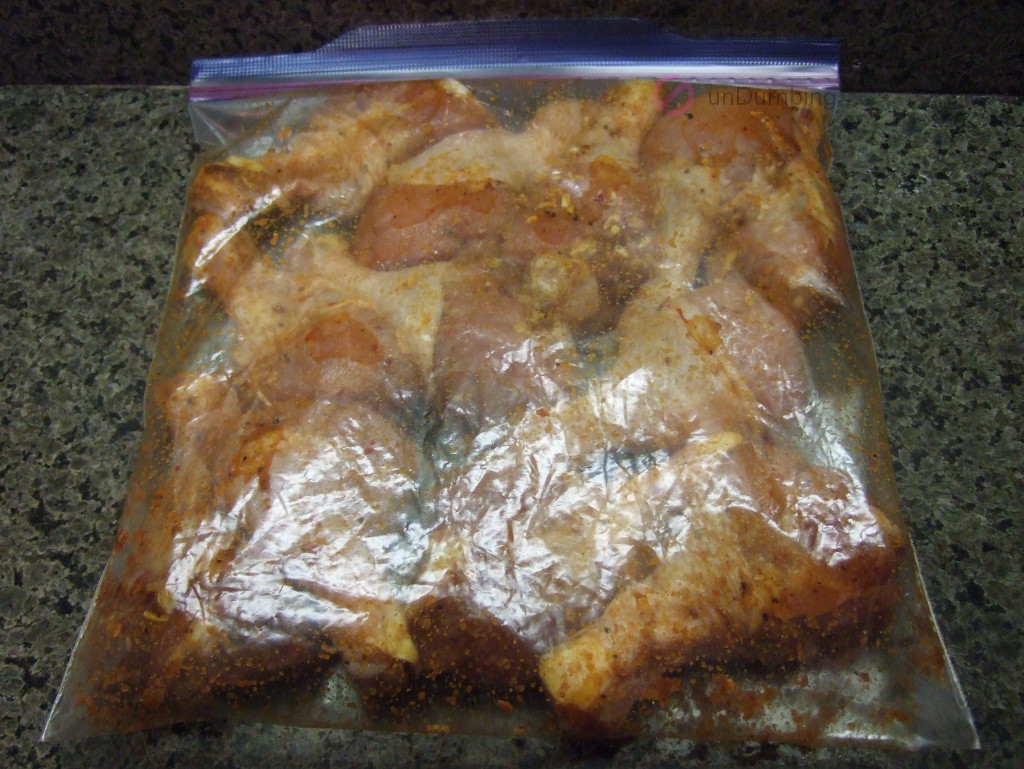
For the majority of the steps in the recipes, I followed them as written. The biggest difference was that I mixed the seasoning in a bag and just threw the chicken in to coat since I didn’t have any empty shakers.
Regarding the main recipe, below are additional details to what I did:
- Step 1 – I chilled the drumsticks for about 4 hours because I started the process right after lunch.
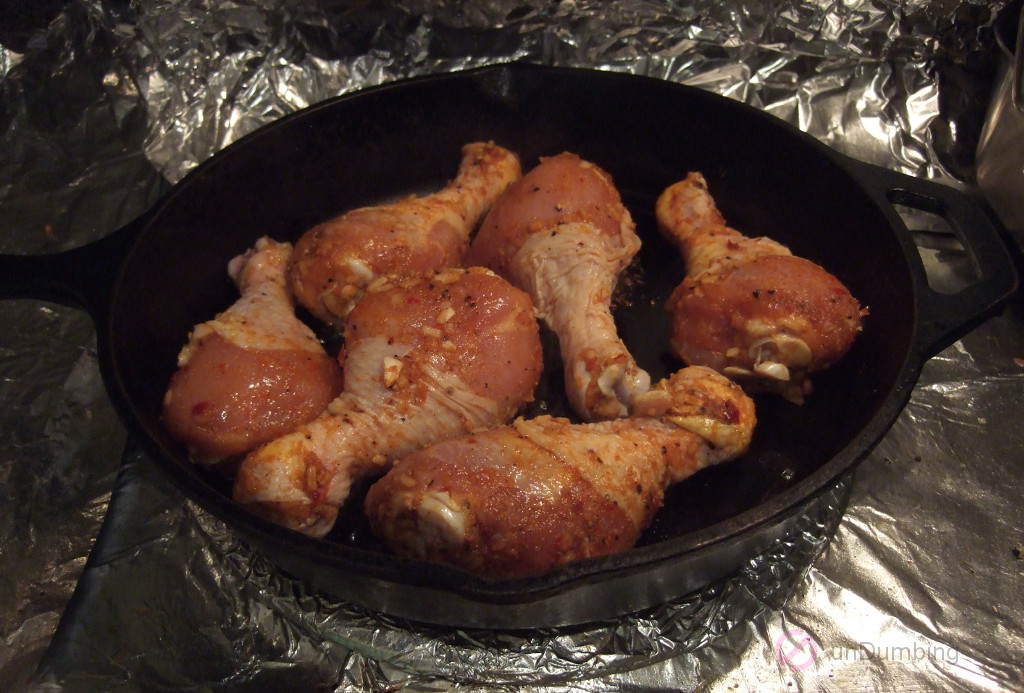
- Step 4 – To brown a batch of chicken, I set the timer for 2 minutes for each of the 4 sides.
- Step 5 – As for baking, I used a foil-lined baking pan since I had more meat than would fit in my skillet. After 40 minutes in the oven, I took the pan out even though the drumsticks weren’t crispy yet as I didn’t want to overcook them.
- Step 6 – Before transferring the chicken pieces to the serving plate, I rested them for about 10 minutes.
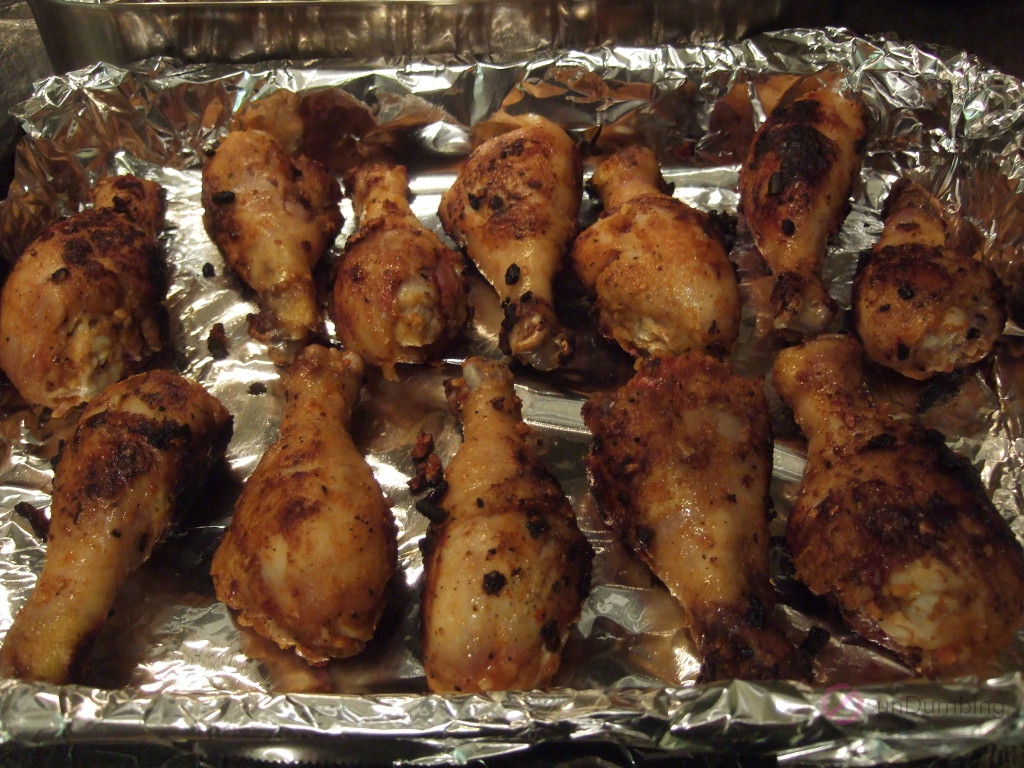
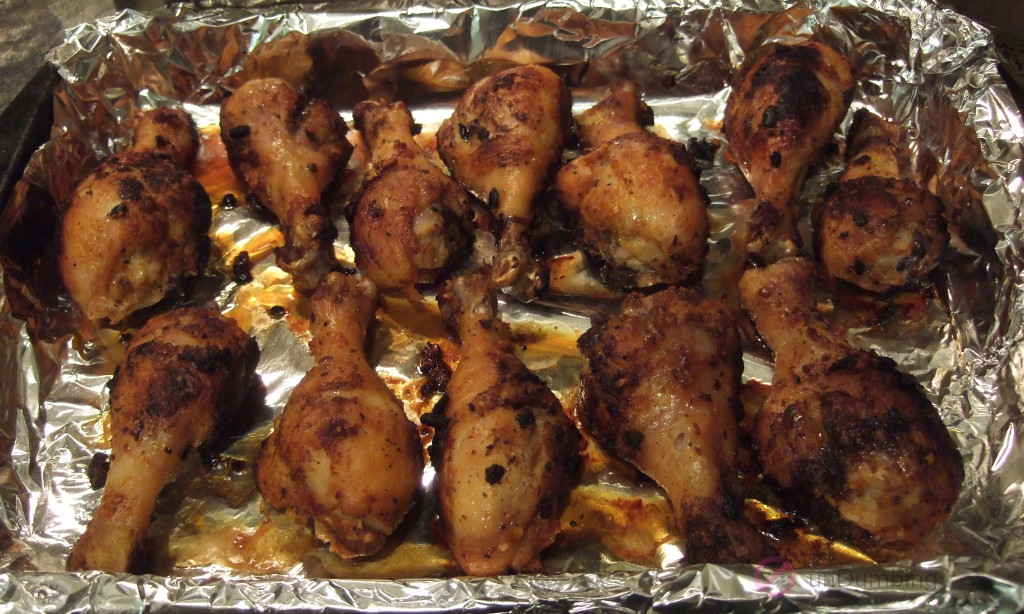
Time to Eat
I was curious to find out how the dried chopped onions would make the dish taste because I had never cooked with this spice before.
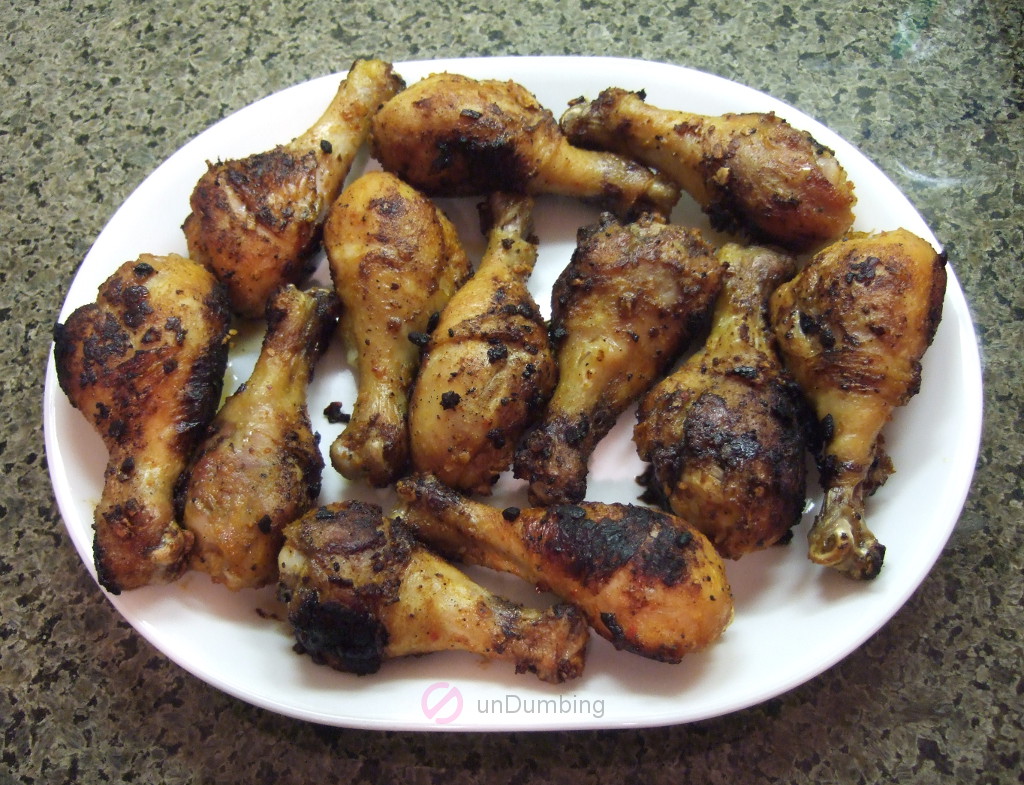
Recipe Rating
Below were the results of the recipe after the first try:
| # of Ingredients | Effort | $ / Serving | Try Again? |
|---|---|---|---|
| 8 |

The chicken drumsticks were tender, but as noted before, the skin was not crispy. Also, I was afraid that the salt content was too much, but it turned out okay. Lastly, the dried chopped onion bits and pepper flakes really shone through, reminding me partially of potato chips flavored with sour cream and onions!
Second Try
The goal for the second round was to get the chicken skin to be crispy.
Ingredients to Use
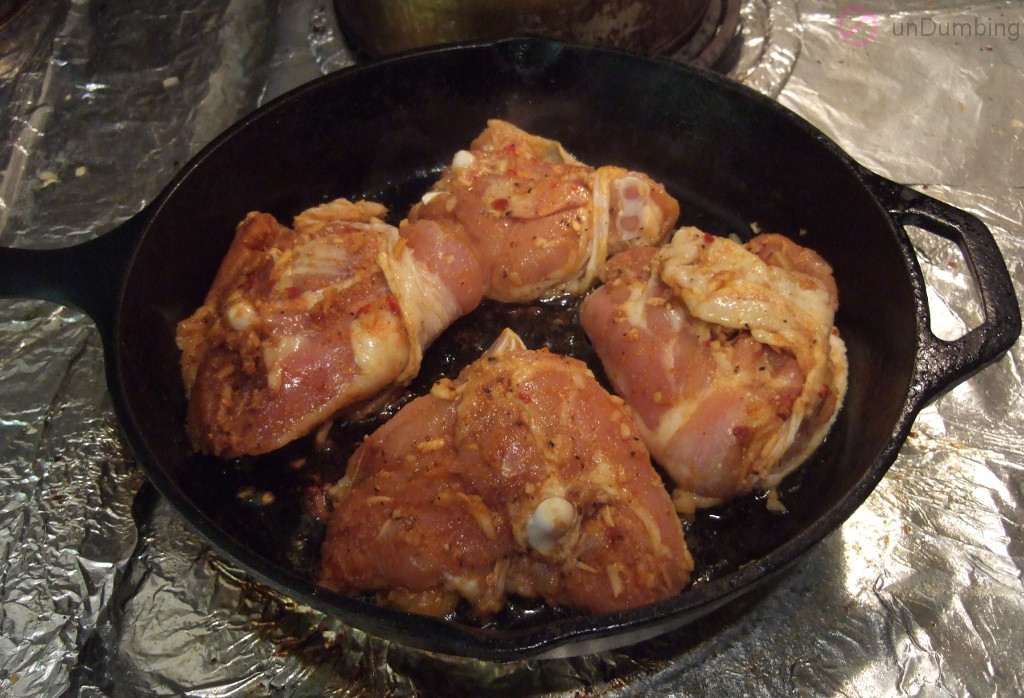
Remembering the last time I was rewarded with crispy skin when using a skillet, I was making chicken thighs. As a result, I switched the cut for this attempt to 3.65 pounds of chicken thighs. For the remaining ingredients, I repeated the measurements from last time.

Steps to Prepare
The process during the second try was similar to the first one with slight differences as shown below:
- Step 1 – I chilled the thighs for a little less time, for about 3 3/4 hours.
- Step 4 – This time, I only browned the top and bottom of each chicken piece.
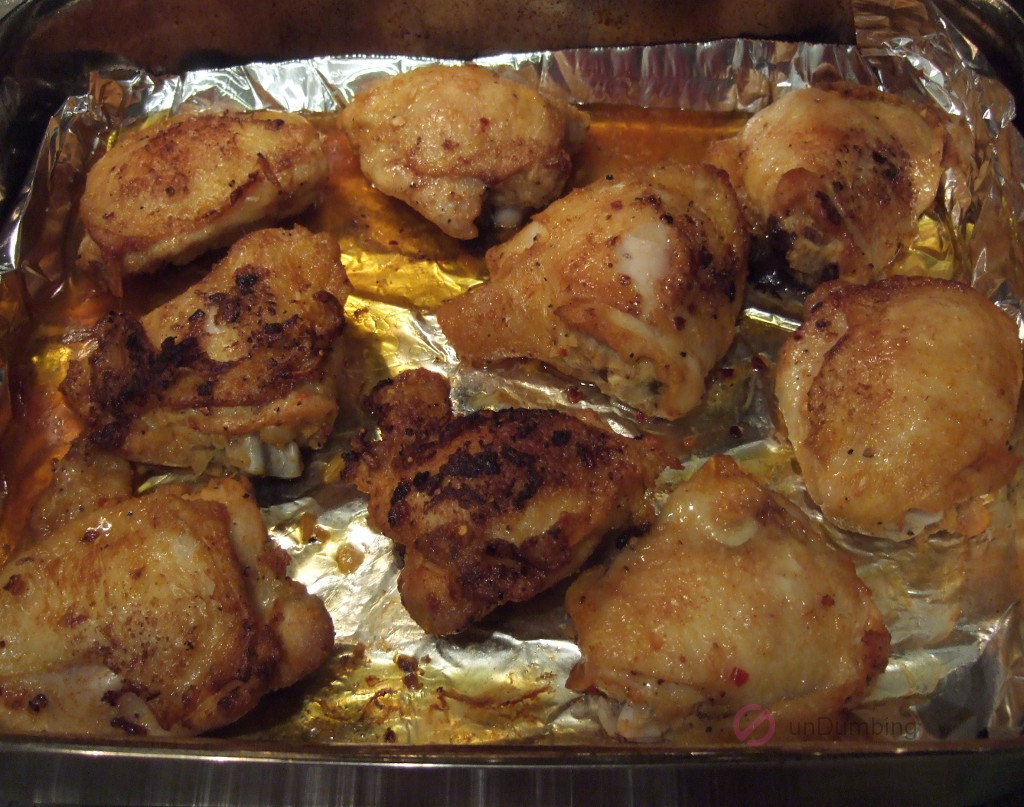
- Step 5 – Because the thighs were already cooked after 36 minutes, I removed the pan from the oven even though they weren’t fully crispy.
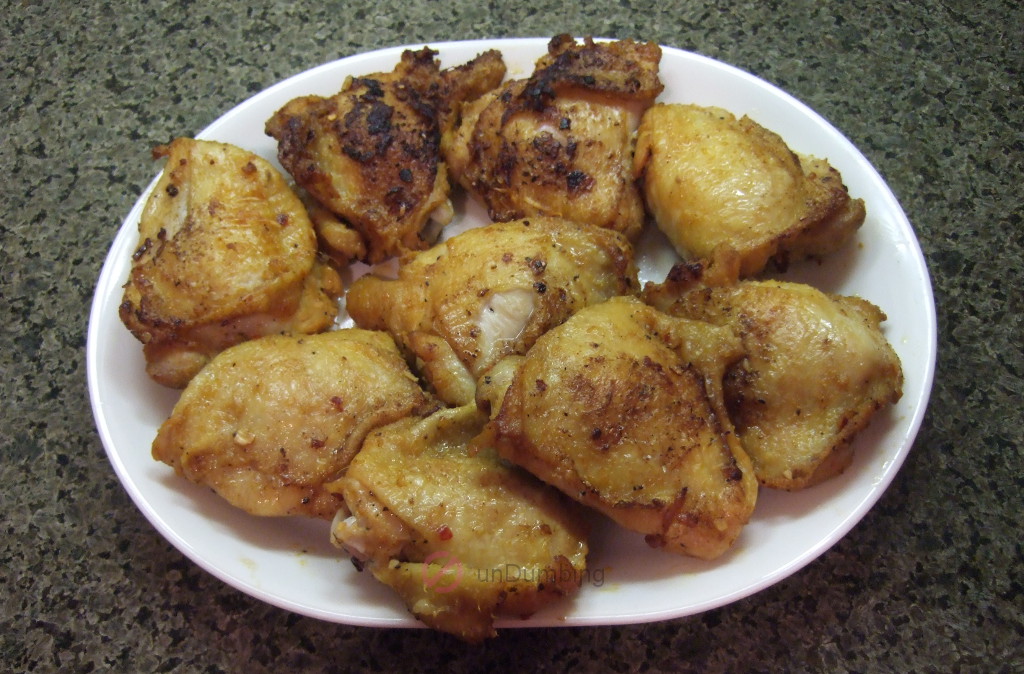
- Step 6 – Before transferring the chicken pieces to the serving plate, I rested them for less time, for 6 minutes.
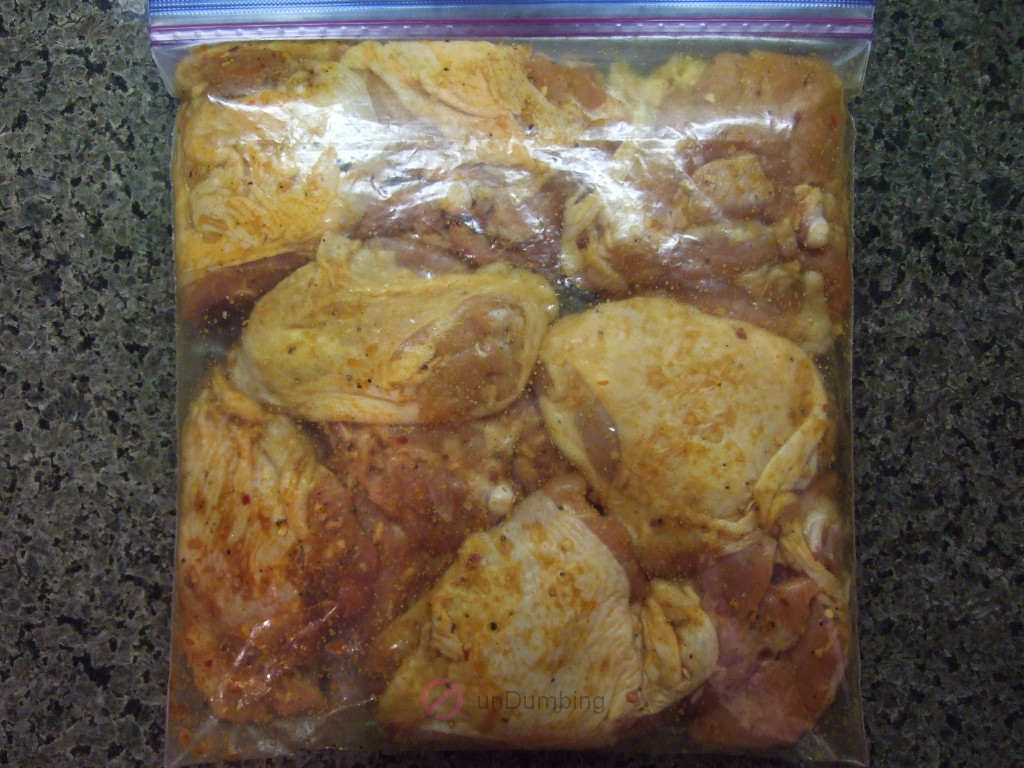
Time to Eat
Since I had cooked chicken thighs instead of drumsticks this time, I was wondering if they would actually be slightly crispy when I bit into the skin.
Recipe Rating
Below are the results of the recipe from the second attempt:
| # of Ingredients | Effort | $ / Serving | Try Again? |
|---|---|---|---|
| 8 |

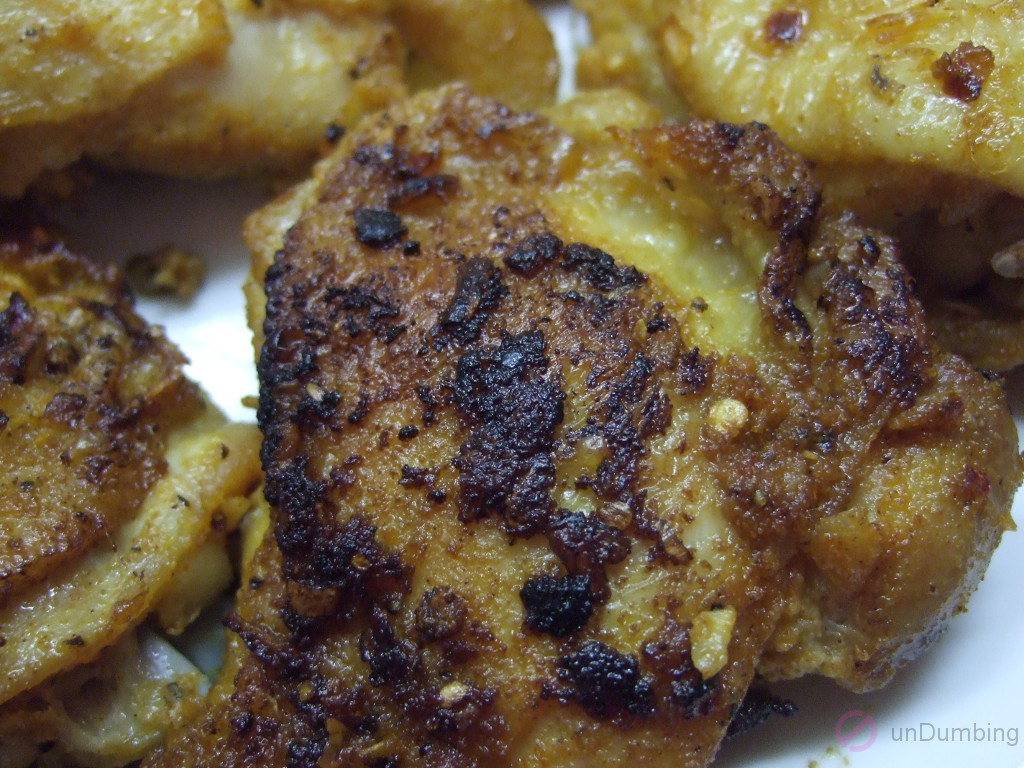
Unfortunately, the chicken was not crispy like from my experience with the Dongbei-style braised chicken thighs. Also, parts were overly salty, but were okay if I included a bite from a less seasoned area. Still, the kids liked it.
I’m not giving up on getting crispy skin from this dish, so next time, I will try the following:
Continuous Improvement
- Bake chicken thighs for 45-55 minutes.
As I continue my journey towards crispy chicken skin, it reminds me of the following lesson that I’d like to share with my younger self:
Lesson for Dumber Self
- Sometimes you just have to risk something to get something else. (In this case, it would be tender chicken meat for crispy skin.)
What will you do now?
Next Step for You
- Try the recipe, Crispy Cast Iron Chicken, from the blog, Health Starts in the Kitchen?
- Share your trick for oven-baked tender chicken with crispy skin?
- Read another post on this site? (Go to the menu at the top of the page.)

Leave a Reply